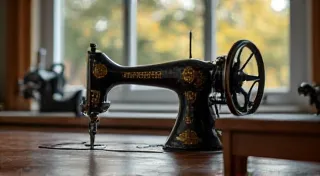
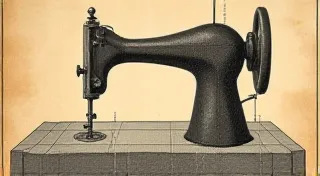
Restoring a Rusty Antique Sewing Machine: A Step-by-Step Guide
Bringing a neglected vintage sewing machine back to life is a deeply rewarding experience for any collector. The process of restoration is about more than just aesthetics; it’s about preserving history and appreciating the ingenuity of a bygone era. While extensive mechanical overhauls are best left to experienced technicians, a surprising amount can be done by the enthusiastic home restorer. This guide focuses on the common, less complex restoration tasks – cleaning, lubrication, and basic mechanical adjustments – to help you breathe new life into your rusty treasure. We’re focusing on techniques suitable for preserving the machine's originality, not striving for a factory-fresh appearance. Remember to always research your specific machine model; procedures may vary.
Understanding the Scope of Restoration
Before you begin, assess the condition of your machine. Is it merely surface rust, or is there significant corrosion? Are parts missing or damaged? This will help you determine the level of effort required. Heavy rust and missing parts may warrant professional assistance or lead you to embrace the machine's "patina" as a testament to its age. The goal isn't to make it look new; it’s to make it functional and preserve its historical integrity.
Safety First: Wear appropriate personal protective equipment (PPE), including gloves, eye protection, and a dust mask. Rust and old lubricants can be harmful if inhaled or come into contact with skin.
Step 1: Initial Cleaning – Removing the Grime
The first step is a thorough cleaning. Years of dust, grease, and accumulated debris often obscure the true condition of the machine. Start with a gentle approach.
- Dry Cleaning: Use a soft brush (an old paintbrush works well) to remove loose dust and debris. Compressed air can also be helpful.
- Soapy Water: Mix warm water with a mild dish soap. Use a soft cloth or sponge to gently wipe down the machine's exterior. Avoid harsh chemicals like bleach or strong solvents, as these can damage the original finish.
- Rust Removal (Mild): For light surface rust, a paste of baking soda and water can be effective. Apply the paste, let it sit for a few minutes, and then gently scrub with a soft brush.
Step 2: Tackling the Rust – Gradual Approach
More stubborn rust requires more targeted treatment. Aggressive methods can damage the machine’s finish or remove original markings.
- White Vinegar: Vinegar is a relatively mild acid that can dissolve rust. Soak cloth rags in white vinegar and apply them to the rusted areas. Cover the treated areas with plastic wrap to prevent the vinegar from evaporating too quickly. Let it sit for several hours, or even overnight, checking periodically.
- Citric Acid: Similar to vinegar, citric acid (available in powder form) can dissolve rust. Dissolve citric acid in warm water according to the package instructions. Apply as you would vinegar.
- Mechanical Removal (Minimal): In some cases, very gentle mechanical removal might be necessary. Use a very fine steel wool (grade 0000) or a brass brush to carefully remove loose rust. Avoid applying too much pressure, as this can scratch the surface.
Important Note: Always test any rust removal method on a small, inconspicuous area of the machine first to ensure it doesn't damage the finish.
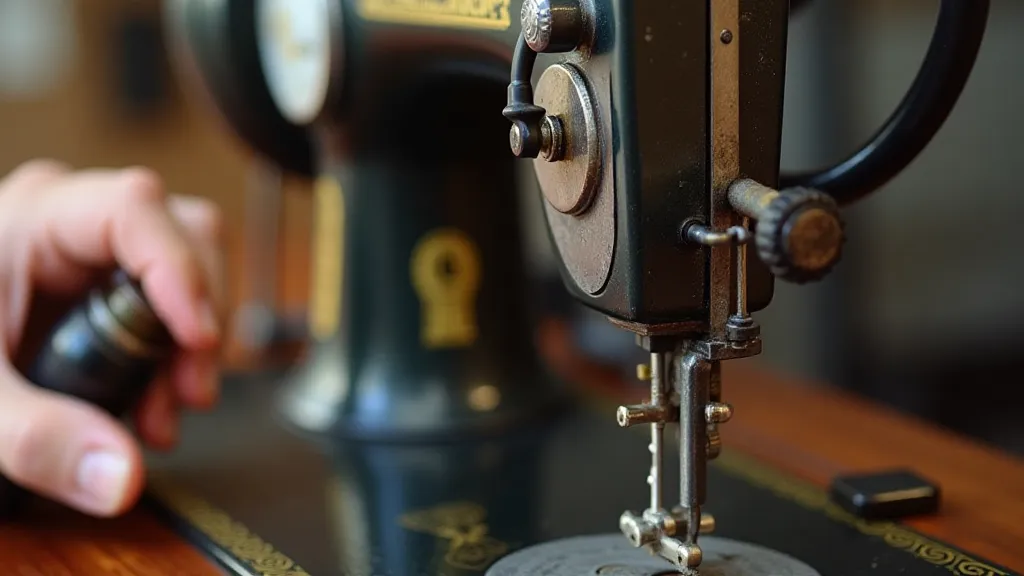
Step 3: Disassembly (Limited) and Cleaning of Parts
For a deeper clean, some limited disassembly may be necessary. However, avoid taking the machine completely apart unless you are experienced. Focus on areas that are easily accessible and require cleaning.
- Needle Plate and Bobbin Case: These are often heavily soiled. Remove them and clean them thoroughly with soapy water.
- Feed Dogs: These tiny teeth are crucial for proper sewing. Clean them carefully with a small brush to remove any accumulated debris.
- Presser Foot: Remove the presser foot and clean it.
Photograph the machine’s components before disassembly to aid in reassembly.
Step 4: Lubrication – Bringing the Movement Back
Old grease and oil become thick and gummy over time, hindering the machine’s operation. Replacing it with fresh lubricant is essential.
- Choosing a Lubricant: Use a sewing machine oil specifically designed for antique machines. Avoid using WD-40 or other penetrating oils, as these can damage the machine’s internal components.
- Applying Lubricant: Apply a few drops of oil to all moving parts, including the needle bar, presser bar, and feed mechanism. Work the handwheel back and forth to distribute the oil.
- Wiping Away Excess: Wipe away any excess oil with a clean cloth.
Step 5: Basic Mechanical Adjustments
Once the machine is clean and lubricated, you can perform some basic mechanical adjustments.
- Tension Adjustment: Check the tension and adjust it as needed. Refer to the machine's manual (if available) for instructions.
- Stitch Length Adjustment: Ensure the stitch length is functioning correctly.
- Bobbin Winding: If the bobbin winder is sticking, clean and lubricate the mechanism.
Step 6: Finishing Touches
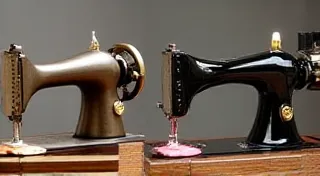
After completing the cleaning, lubrication, and mechanical adjustments, take a step back and admire your work. A light coat of wax can help protect the machine's finish and prevent future rust.
Preserving Your Vintage Sewing Machine
Restoring a vintage sewing machine is a labor of love. To ensure your machine remains in good condition, store it in a dry environment and regularly clean and lubricate it. By following these simple steps, you can enjoy your vintage sewing machine for years to come, appreciating its beauty, its history, and its functionality.
Disclaimer: This guide provides general advice for restoring vintage sewing machines. Specific procedures may vary depending on the model. If you are unsure about any aspect of the restoration process, consult a qualified technician.