Common Problems & Repairs for Antique Sewing Machines
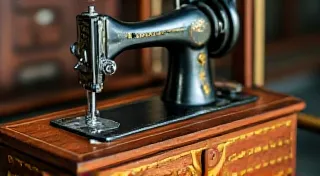
Collecting vintage sewing machines is a rewarding hobby, steeped in history and craftsmanship. However, these beautiful machines are often decades or even a century old, and as such, can present a unique set of challenges for the aspiring collector. While bringing a vintage machine back to life can be a labor of love, understanding common problems and learning basic repair techniques is essential for successful sewing machine collecting. This guide explores frequent issues encountered with antique sewing machines and offers simple troubleshooting steps to get you started.
Understanding the Age Factor: Why Repairs Are Common
The primary reason for repair needs stems from age. Lubricants dry out, rubber parts degrade, metal components corrode, and springs lose their tension. Furthermore, machines often experienced heavy use in their working lives, and many were simply abandoned, left exposed to the elements for extended periods. Knowing this context helps approach repairs with patience and understanding. Don't expect a 1920s machine to perform like a modern one – the goal is to restore its functionality and appreciate its historical significance.
Common Problems & Troubleshooting Steps
Let's delve into the most frequently encountered problems and how to address them.
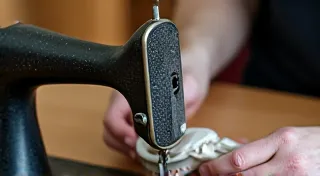
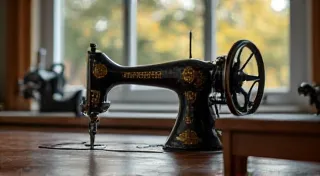
1. Timing Problems: The Stuttering Stitch
A timing problem manifests as a choppy, uneven stitch – the needle and hook aren't synchronizing correctly. This is arguably the most common and frustrating issue.
Possible Causes:
- Loose Timing Screws: Most machines have one or more timing screws that adjust the hook’s position relative to the needle. These often loosen over time.
- Worn or Damaged Parts: The drive mechanism, including gears, cams, and levers, can wear down, affecting timing.
- Incorrect Needle Position: A misaligned needle can cause the hook to miss the thread.
Troubleshooting Steps:
- Check Timing Screws: Consult your machine’s manual (if available) or online resources for the location of timing screws. Carefully tighten them, making small adjustments and testing the stitch after each one.
- Inspect Drive Components: Visually inspect the drive components for wear, damage, or looseness. A qualified repair person might need to replace worn parts.
- Ensure Correct Needle Placement: Confirm the needle is properly inserted and aligned.
Image: 
2. Needle Breakage: A Sign of Multiple Issues
Frequent needle breakage isn't just about using the wrong needle. It can signal deeper problems.
Possible Causes:
- Incorrect Needle Type or Size: Using the wrong needle for the fabric or thread is a common culprit.
- Bent or Damaged Needle: A bent needle will break easily.
- Needle Plate Issues: A burred or damaged needle plate can catch and break needles.
- Tension Problems: Excessive tension puts stress on the needle.
- Timing Problems: Timing issues can cause the needle to hit the hook or other parts.
Troubleshooting Steps:
- Use the Correct Needle: Refer to your machine’s manual or online resources to determine the appropriate needle type and size for the fabric and thread you’re using.
- Replace the Needle: Needles dull and bend over time. Replace them regularly.
- Check the Needle Plate: Inspect the needle plate for burrs or damage and smooth them out with a fine file or emery cloth.
- Check Tension: See section below on tension adjustments.
3. Tension Problems: Loopy Stitches or Thread Breaks
Tension problems are a frequent complaint. Too much tension leads to thread breakage and loopy stitches on the underside of the fabric; too little tension results in loose, puckered stitches.
Possible Causes:
- Dirty Tension Discs: Lint and debris accumulate in the tension discs, affecting their ability to regulate thread tension.
- Incorrect Tension Disc Alignment: The tension discs must be properly aligned to function correctly.
- Worn or Damaged Tension Springs: Tension springs lose their strength over time, affecting thread tension.
- Incorrect Threading: Incorrect threading is a surprisingly common problem.
Troubleshooting Steps:
- Clean the Tension Discs: Use a specialized sewing machine cleaning kit or a lint brush to thoroughly clean the tension discs.
- Check Tension Disc Alignment: Ensure the tension discs are properly aligned. Consult a repair manual or online resources for specific instructions for your machine.
- Re-Thread the Machine: Carefully re-thread the machine, ensuring the thread follows the correct path and isn't pinched or tangled.
- Adjust Tension Dial: Experiment with adjusting the tension dial. Small adjustments can make a big difference.
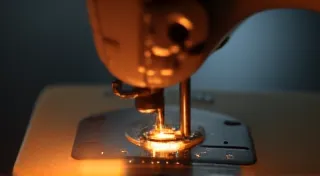
4. Motor Issues: No Power or Weak Performance
Older machines often experience motor problems.
Possible Causes:
- Worn Brushes (for brushed motors): Brushes wear down and need replacement.
- Dirty or Corroded Electrical Contacts: Corrosion can prevent the motor from receiving power.
- Dried Lubricant: Lack of lubrication can cause the motor to seize.
Troubleshooting Steps:
- Check Power Cord and Plug: Ensure the power cord is securely plugged in and the outlet is working.
- Clean Electrical Contacts: Carefully clean the electrical contacts with a specialized cleaner.
- Lubricate Motor: Apply a small amount of sewing machine oil to the motor bearings.
Image: 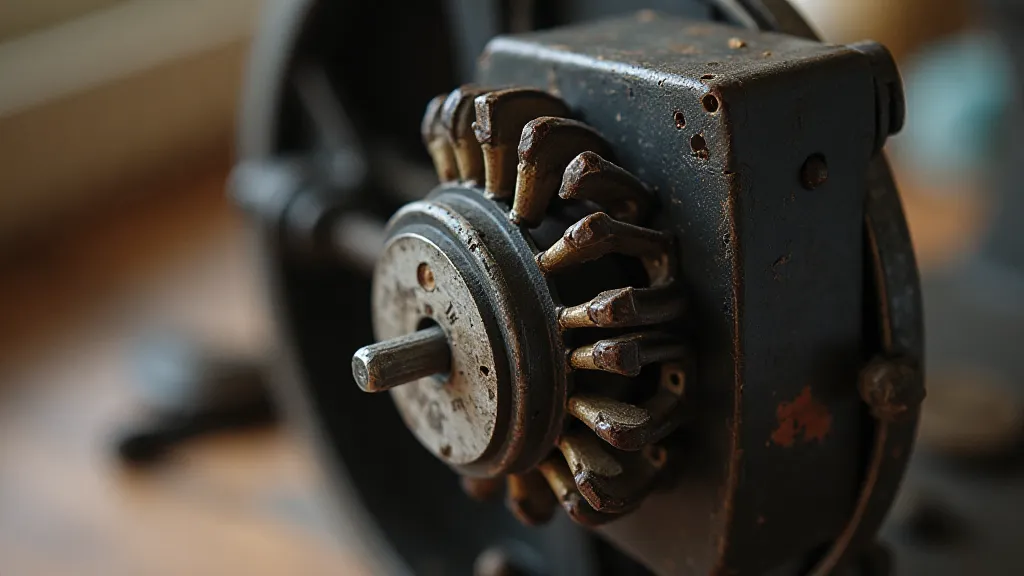
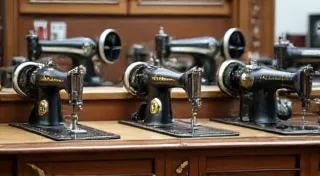
5. General Lubrication: A Key to Longevity
Lack of lubrication is a major contributor to many problems. Regular lubrication keeps moving parts running smoothly and prevents corrosion.
What to do:
- Use Sewing Machine Oil: Use only high-quality sewing machine oil.
- Oil Regularly: Oil the machine regularly – typically every 6-12 months, or more frequently if used often.
- Focus on Key Areas: Lubricate all moving parts, including the motor, bobbin winder, feed dogs, and needle bar.
Image: 
Seeking Professional Help
While this guide offers basic troubleshooting steps, some repairs are best left to a qualified sewing machine technician. Complex timing issues, severely damaged parts, and electrical problems can be difficult and dangerous to address without the right tools and expertise. Remember, these machines are delicate historical artifacts, and improper repairs can diminish their value and functionality.
Happy collecting and sewing!